
Joomla! Toolkit
Learn about Joomla! Toolkit and how to manage it.
1. What is Joomla! Toolkit?
Joomla! Toolkit is the counterpart to the WordPress Toolkit. It is also an extension integrated into the Webhosting Control Panel (WCP) that was developed specifically for managing Joomla! websites.
Main Features
Function
Description
Installation
You can create a new Joomla! website by selecting a domain and entering a website name. Optionally, you can add additional languages and install your website on a remote database server.
Central Overview
All Joomla! installations are listed together, including buttons for Install, Find and Updates.
Updates
The Joomla! core and extensions can be updated centrally. However, experience has shown that it is advisable to create a backup beforehand, as an update can sometimes render Joomla! unusable.
Security
The toolkit checks the website's status to ensure it is up-to-date and has a valid SSL certificate, and automatically runs a system diagnostic that identifies any current errors or issues. It also serves to centrally manage and secure instances, extensions and templates.
Backup
Backups can be created and downloaded quickly to provide additional local protection.
2. Installing Joomla! Toolkit
- Log in to the Customer Control Panel (CCP).
- Go to the Products menu item on the left.
- Select the web hosting product you want.
- Click the magnifying glass icon to the left of the product you want.
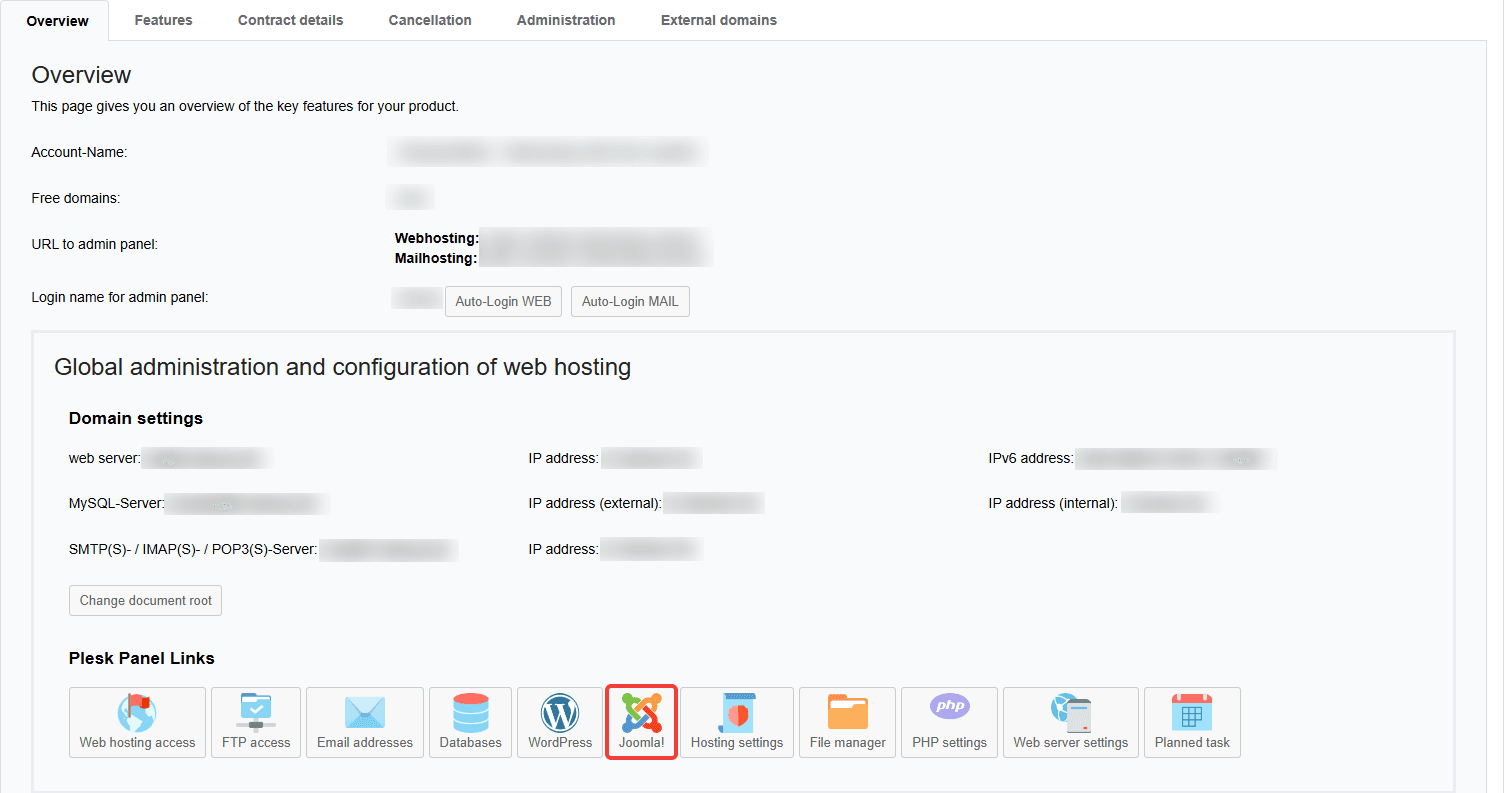
- In the Overview tab, click the Joomla! button at the bottom.
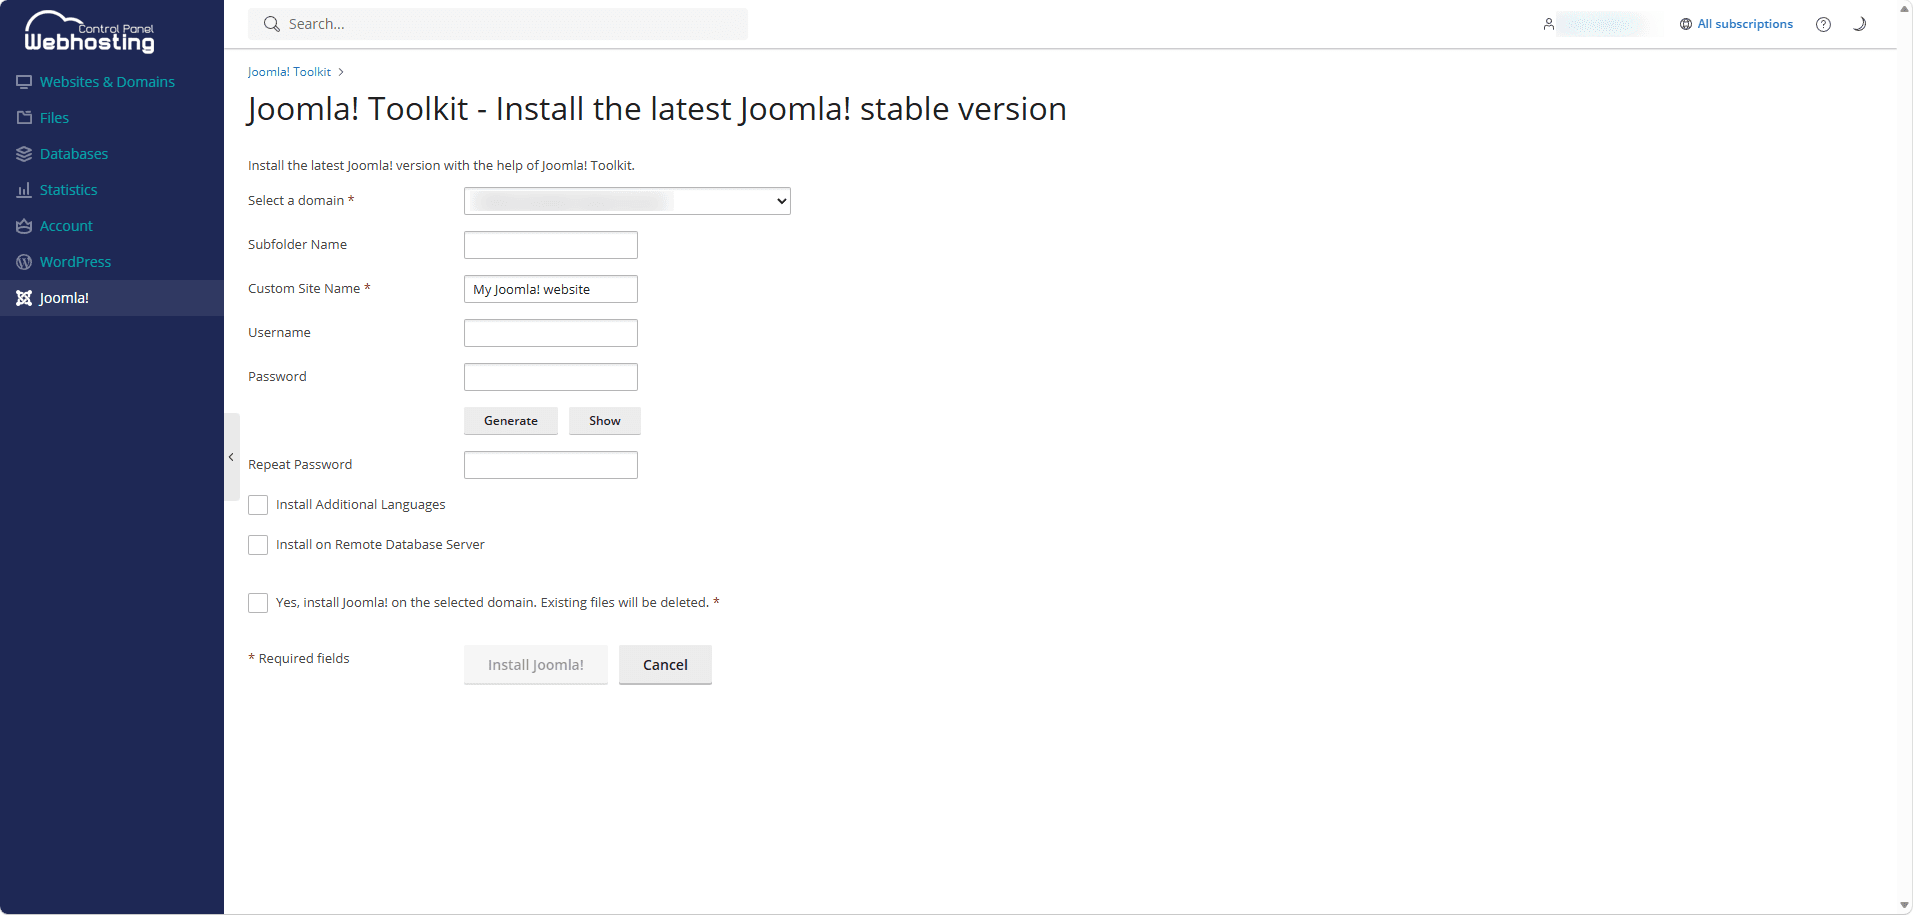
Then, you can install the latest version of Joomla! in the WCP. To do so, follow these steps:
- Select a domain.
- Enter a custom site name.
- Check the box next to Yes, install Joomla! on the selected domain. Existing files will be deleted.
- Click Install Joomla! below.
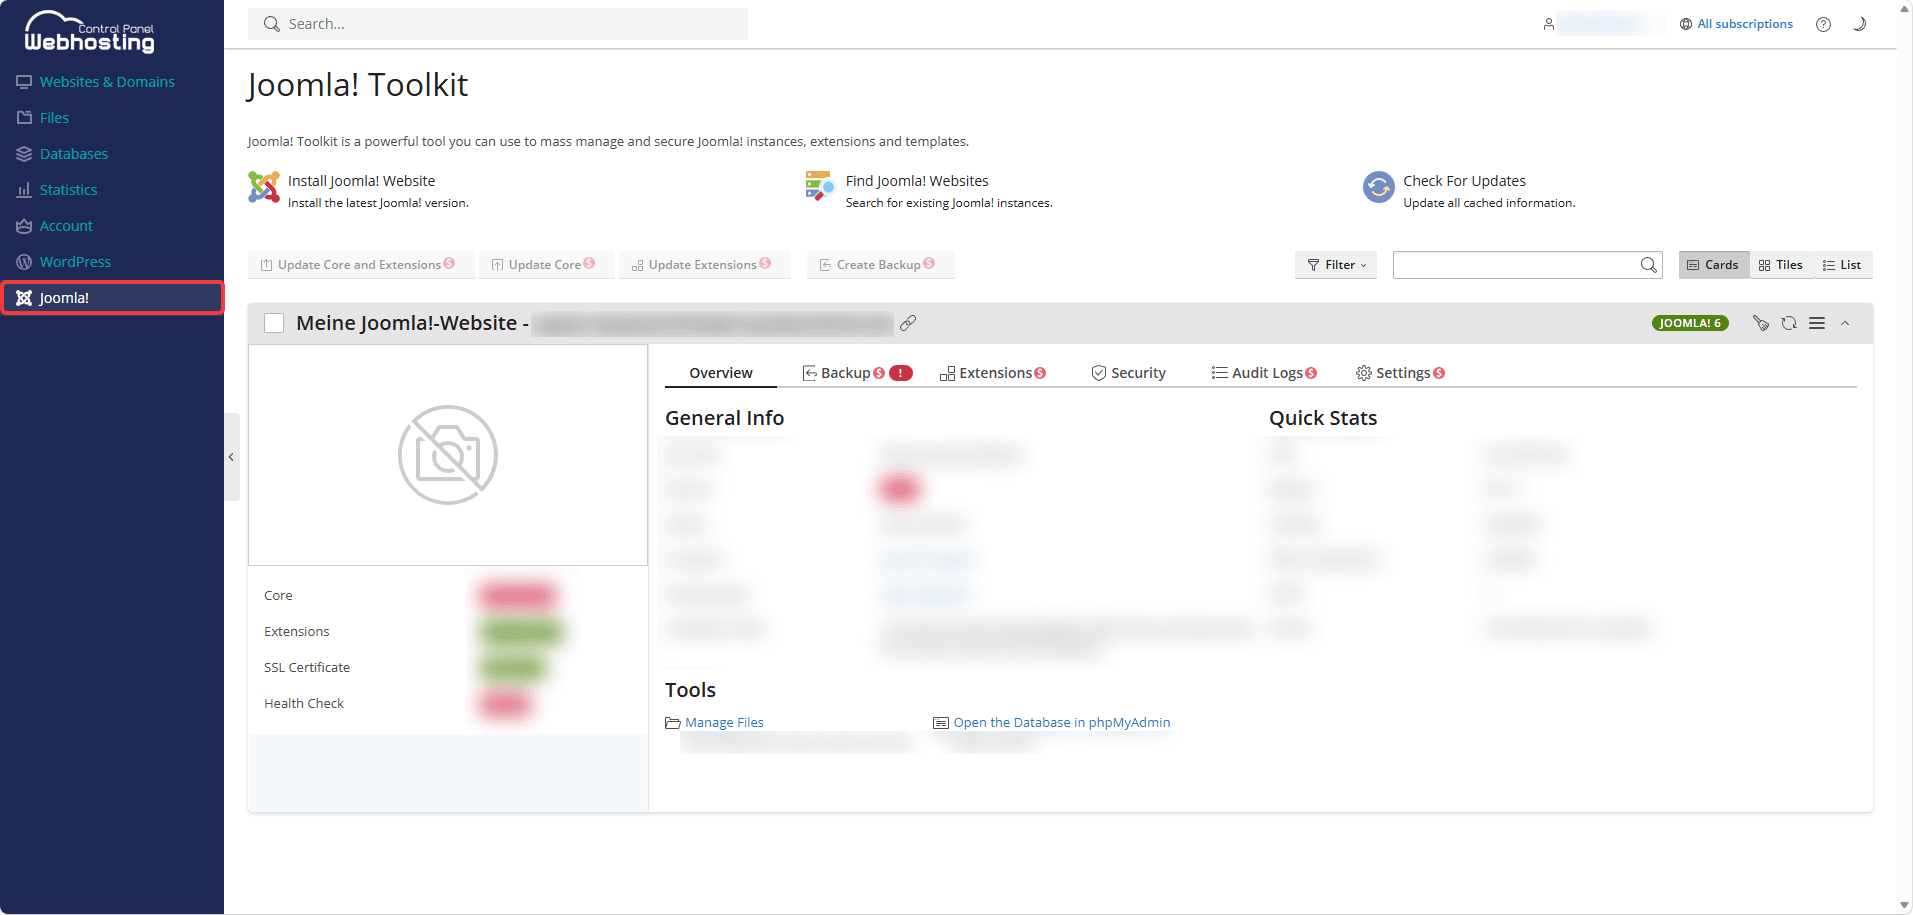
You can view your installed Joomla! websites by clicking the Joomla! menu item on the left.
3. Managing the Overview Page
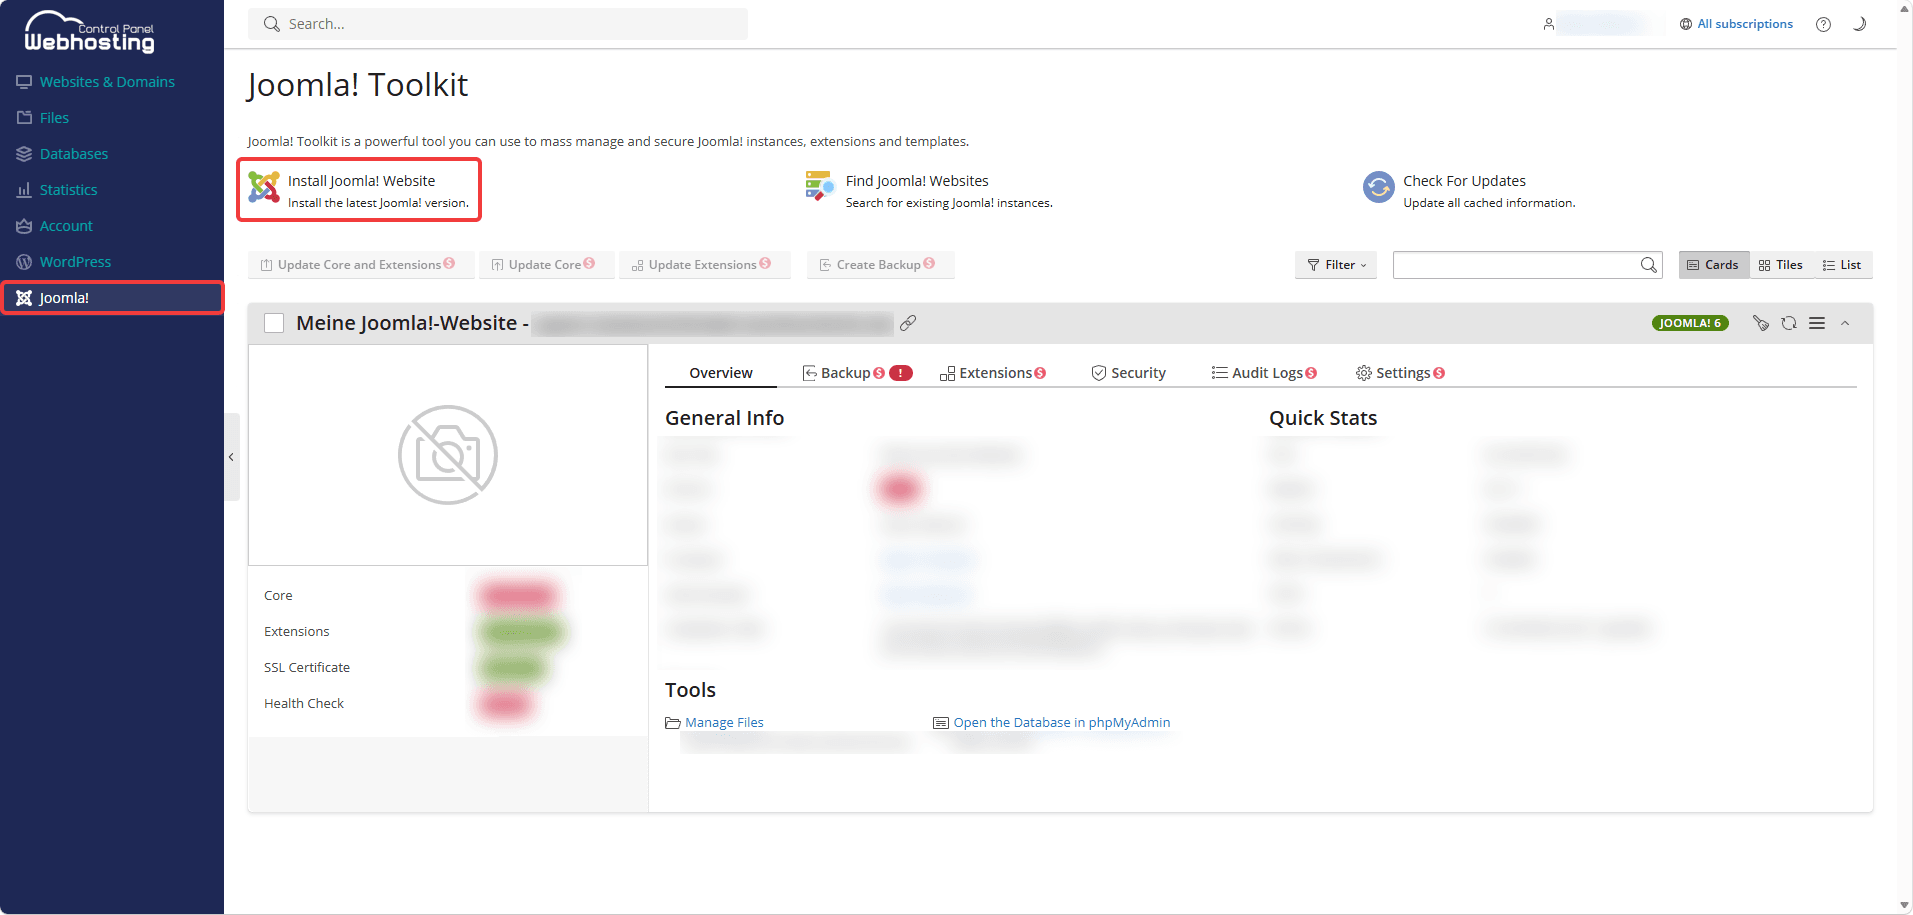
Install Joomla! Website
You can use the Install Joomla! Website button to install the latest version of Joomla! as mentioned above.
Detaching and Deleting Joomla! Websites
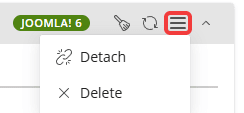
You can detach and delete your active websites by clicking the hamburger icon on the right and then selecting the appropriate buttons.
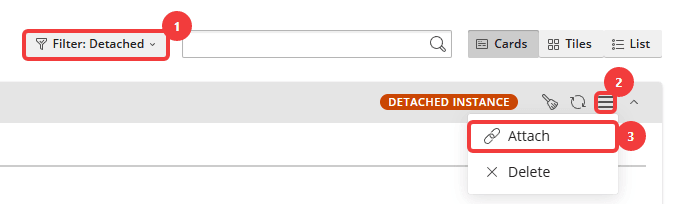
You can add your detached websites again by following these steps:
- Select the Detached filter.
- Click the hamburger icon.
- Click Attach. You can also delete your detached websites.
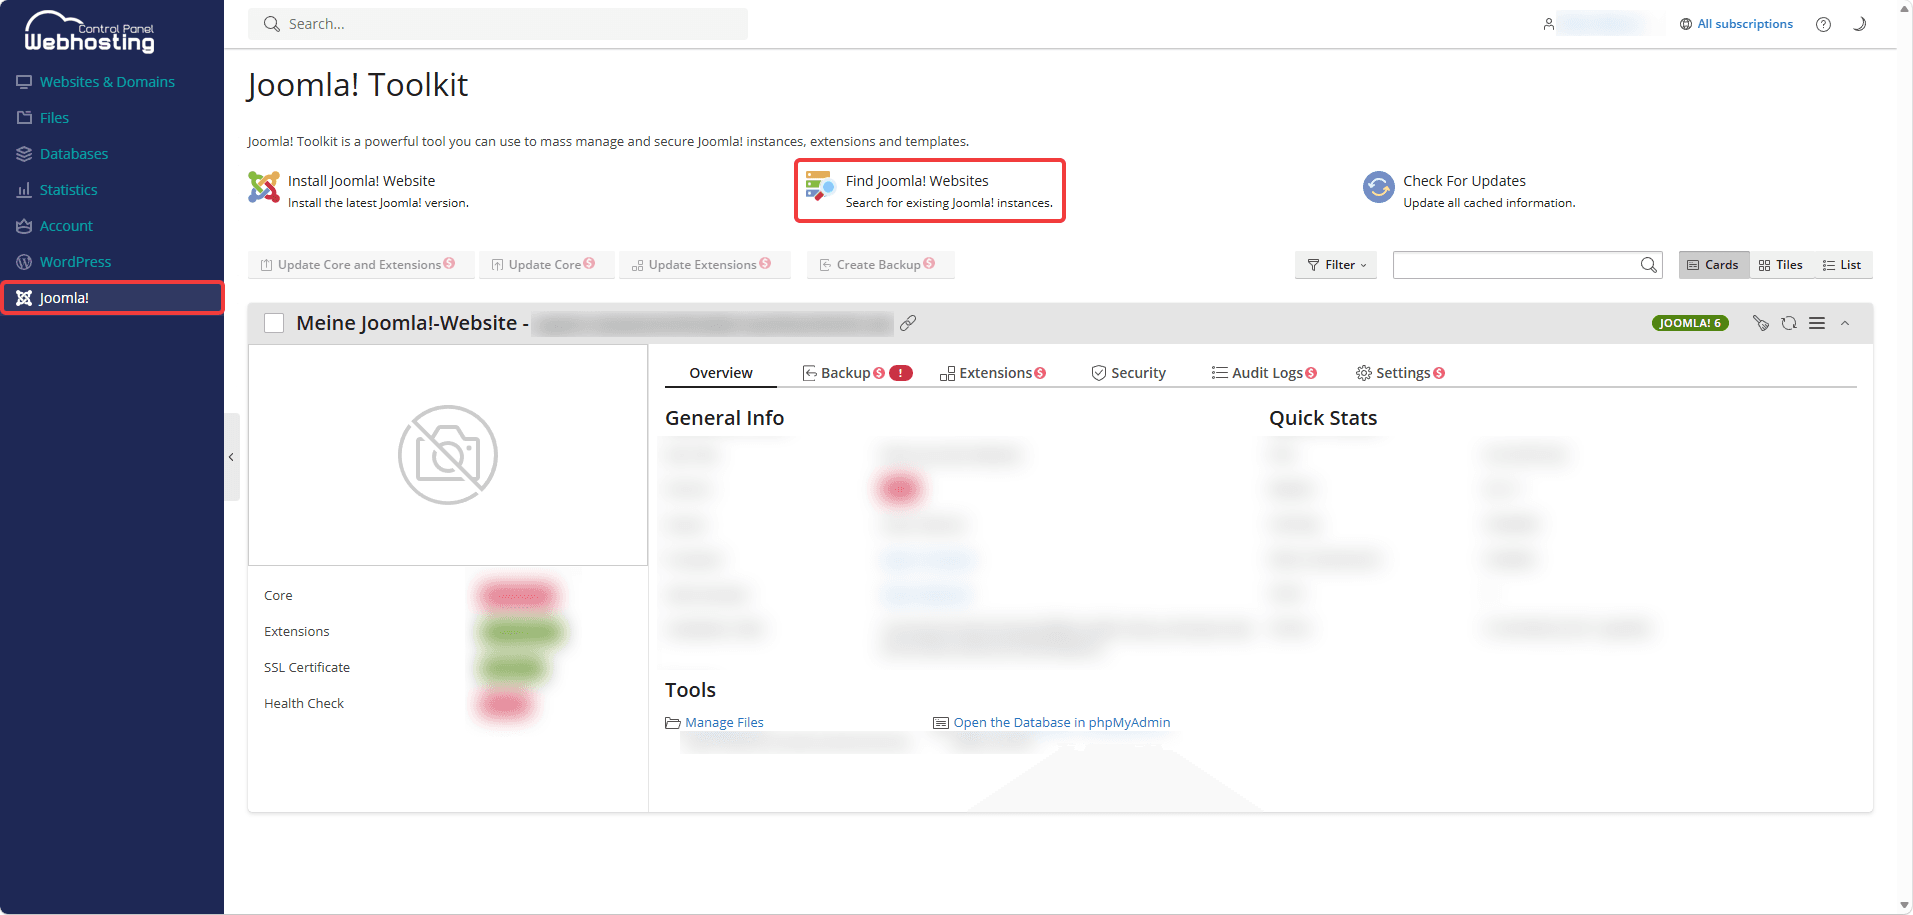
Find Joomla! Websites
You can use the Find Joomla! Websites button to search for existing Joomla! instances. After the scan is complete, a message will appear in the lower-right corner indicating that the list of instances has been updated. To view the updated data, reload the page.
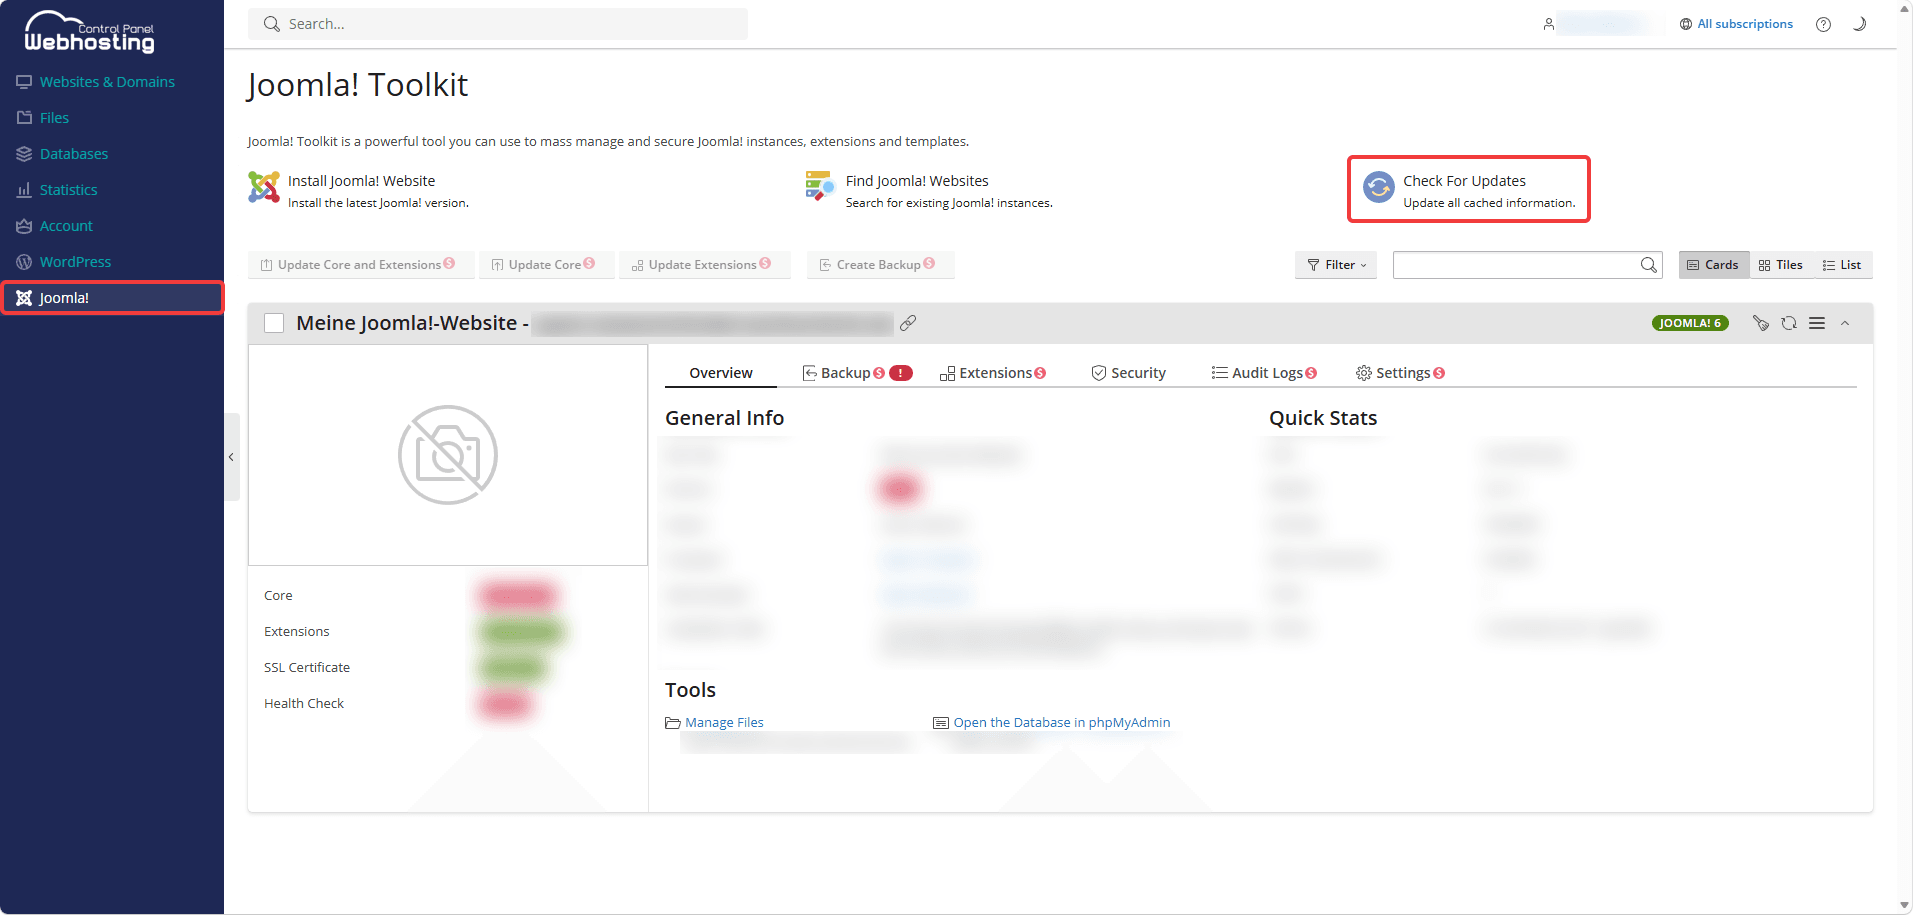
Check For Updates
You can use the Check For Updates button to refresh all the information in the cache. After the check is complete, a message will appear in the lower-right corner indicating that the cache has been refreshed. To view the updated data, refresh the page.
In addition to the 3 buttons Install Joomla! Website, Find Joomla! Websites and Check For Updates, you can filter and view your Joomla! websites accordingly, as well as use the search field. Depending on the items available in the respective tabs, the buttons for Core, Settings, Extensions and Backup are clickable.
On the overview page of your Joomla! website, you can see the following tabs in addition to the Core, Extensions, SSL Certificate and Health Check statuses:
Overview
The Overview tab shows you general information about your Joomla! website as well as quick stats and the following tools:
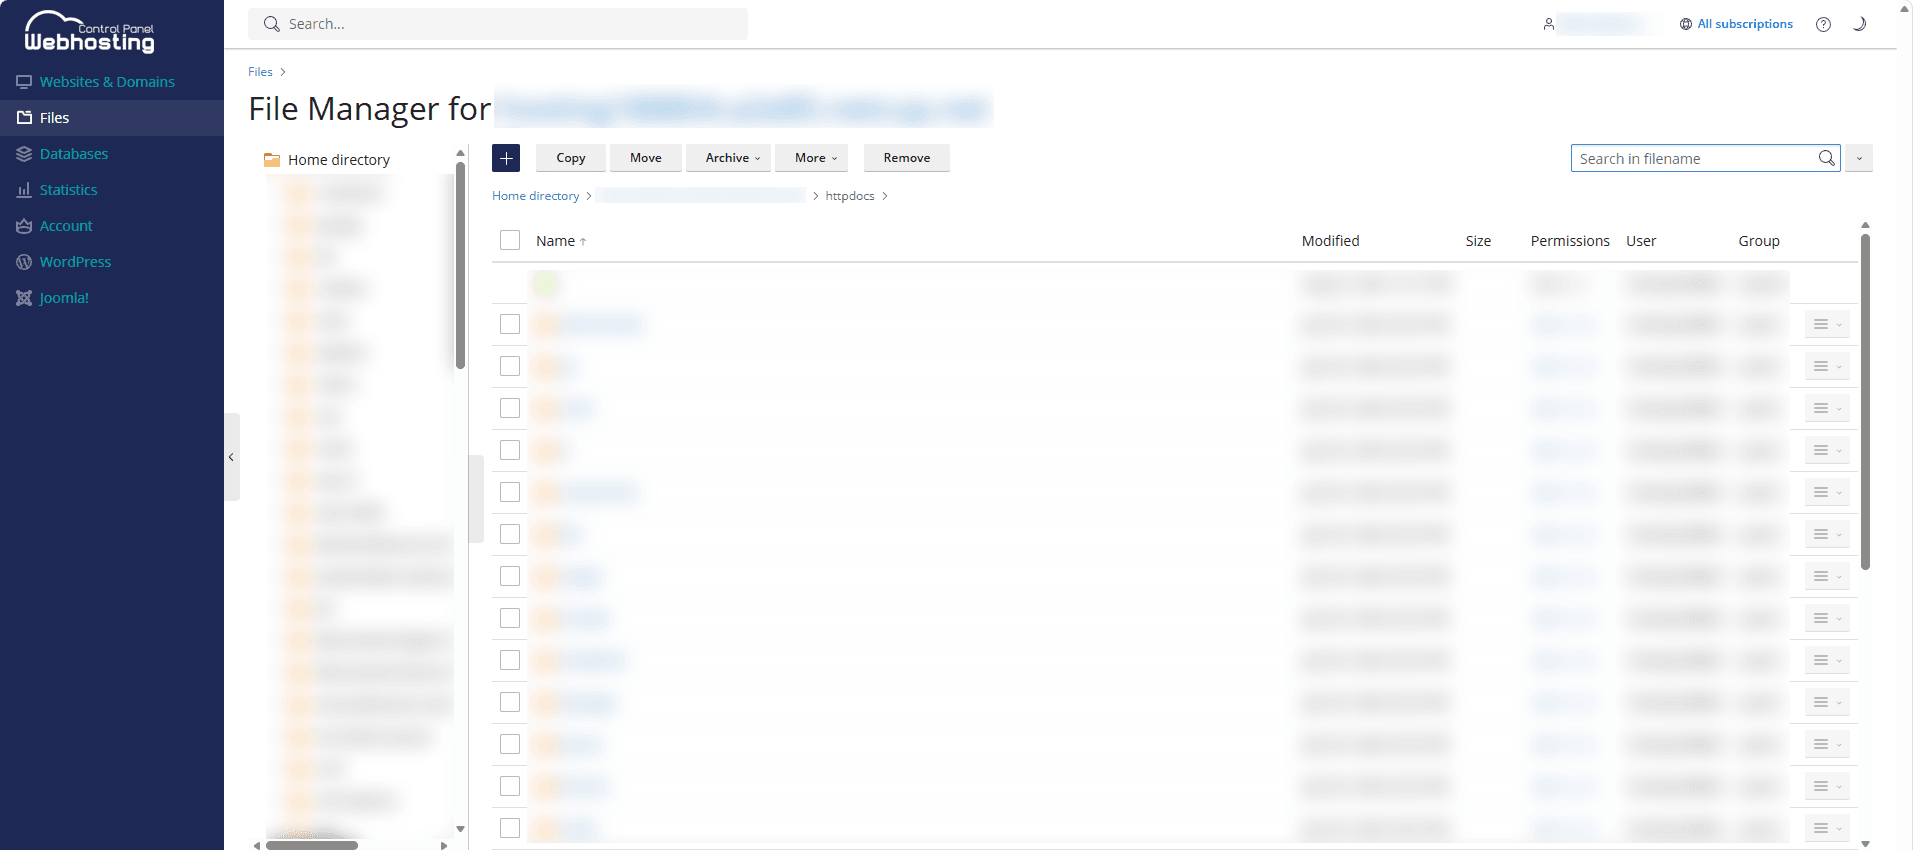
Manage Files
Click the Manage Files link under Tools to open the File Manager for your website.
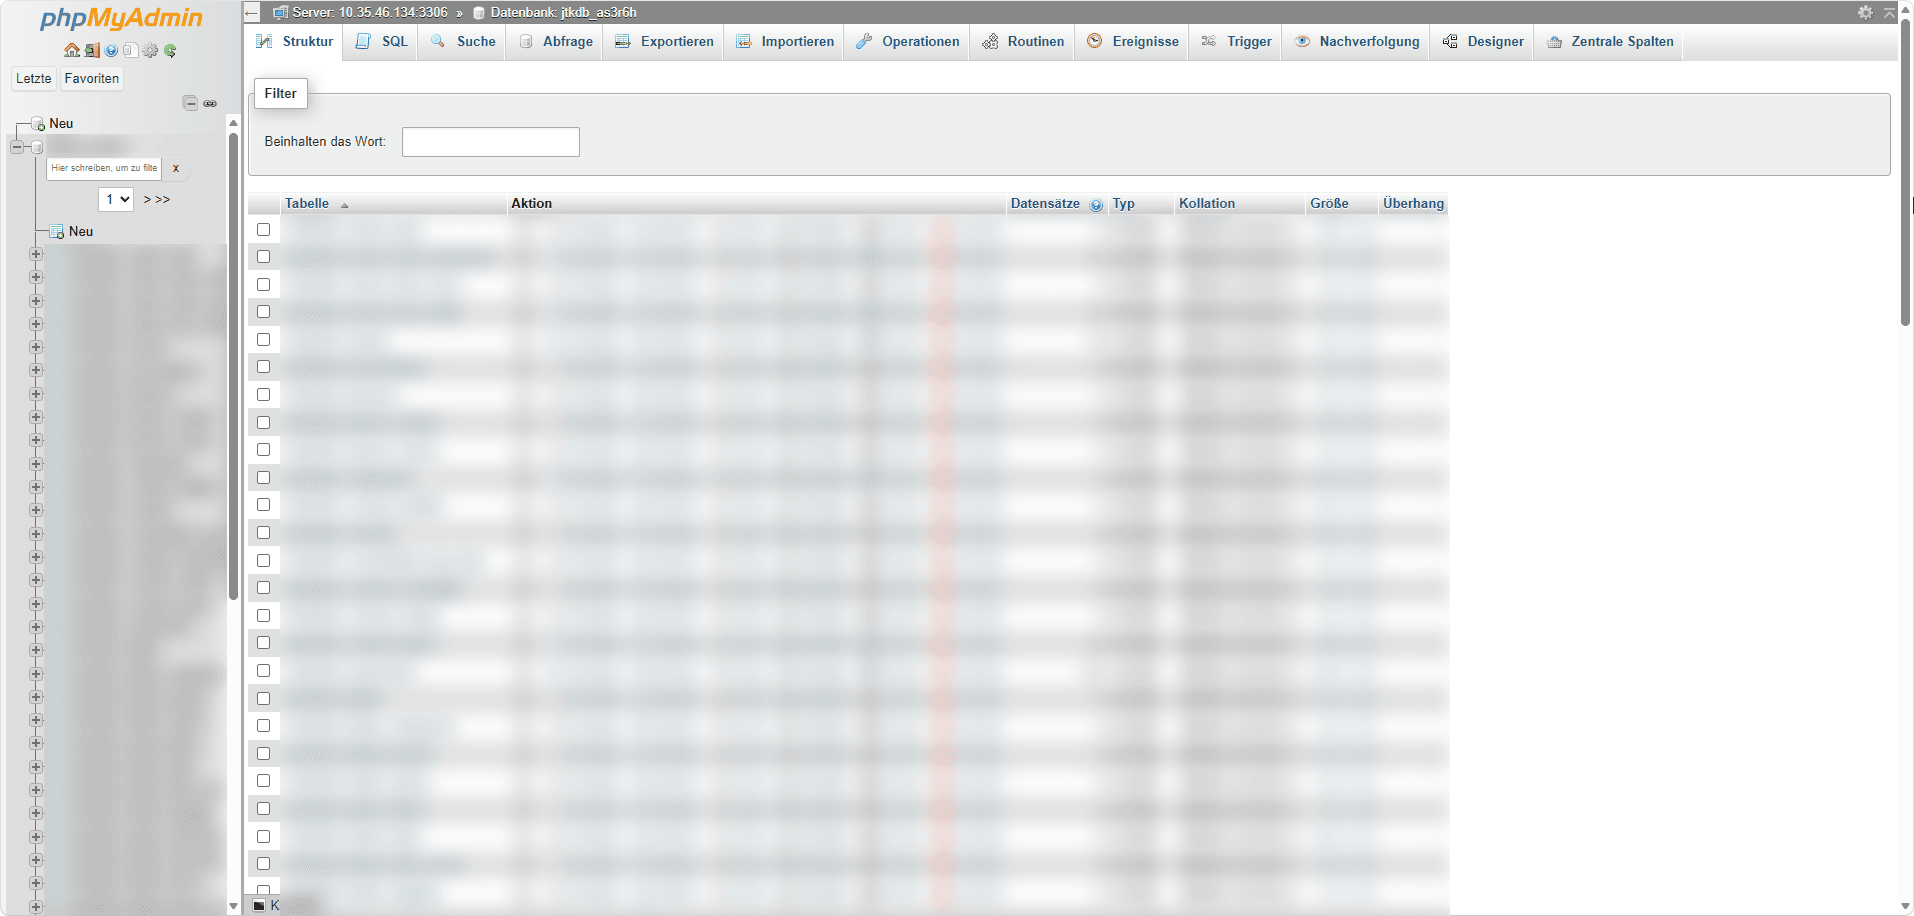
Open the Database in phpMyAdmin
Click the Open the Database in phpMyAdmin link to open your website's database in phpMyAdmin.
Backup
The Backup tab shows you items for which you can create backups.
Extensions
The Extensions tab shows you items that you can enable, disable, update, install and uninstall.
Security
The Security tab shows you security rules.
Audit Logs
The Audit Logs tab shows you actions such as "Security scan," along with who performed them and when.
Settings
The Settings tab shows you the instance's administrator account. You can also configure settings for scheduled backups and automatic updates here.
Alternatively, you can access the settings by clicking the three-dot icon to the right of the Audit Logs tab.