
Ordering a Server
Learn how to select and order a suitable server.
1. Selecting the Server
Our servers are divided into the categories vServer (VPS) and root server, as well as into different performance and storage levels within these categories.
The first step in ordering a new server is choosing the right level and variant for your needs. Do you need dedicated resources, or do you prefer the more flexible hourly billing?
After selecting a configuration, head to the vServer (VPS), netcup Root Server, or netcup ARM Server page to place an order for your new server.
Search for your preferred configuration and click Order now.

2. Adding to Cart
Depending on your selection, you will be presented with a page highlighting the exact details of the specific server you have chosen. Here you will also find a simple overview of your contractual obligations and product details, including monthly prices and contract duration. With some servers, you also have the option of specifying the location of the system.
If the selected server offers this option, you will find a drop-down menu in the Server Location section where you can select a server location if you have a specific preference.
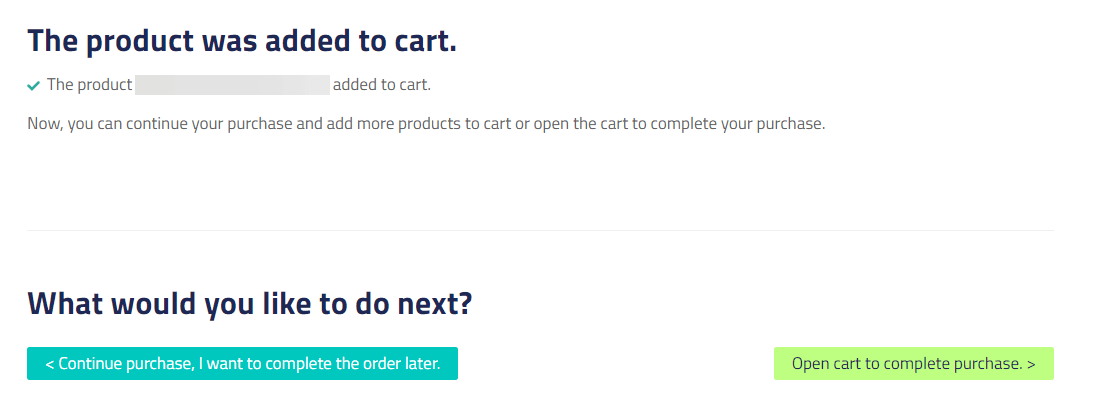
Once you have verified that the product suits your needs, and you are ready to continue, click Add to cart.

After adding the product to your cart, you can continue shopping for additional services using the button on the left-hand side (Continue purchase, I want to complete the order later) or go to the cart using the button on the right-hand side (Open cart to complete purchase).
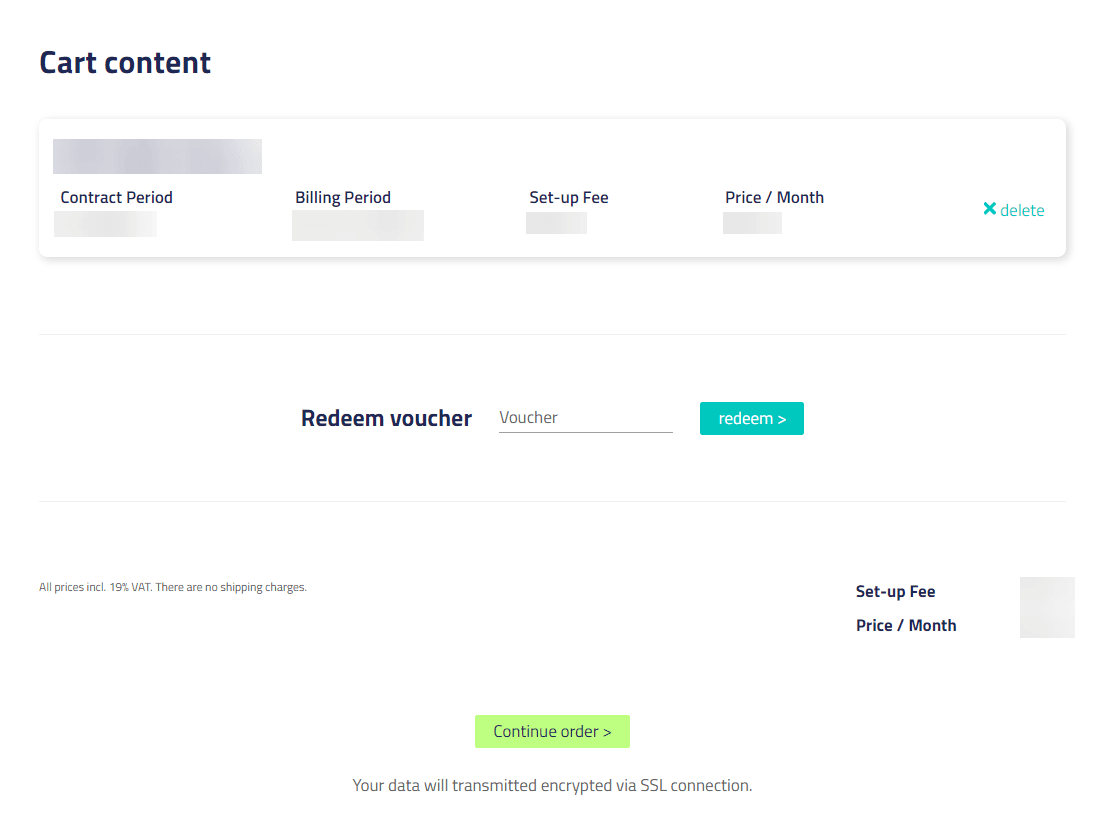
3. Cart
In the shopping cart, you can review your order or use a coupon.
When you are satisfied with your selection, click the “Continue order” button at the bottom of the Screen:
Please note that when you use a coupon code, the product will be added to your shopping cart again. Check your shopping cart to ensure you do not order the product multiple times.
Coupons cannot be combined with special promotions.
Once you are happy with your selection, click Continue order at the bottom of the screen.
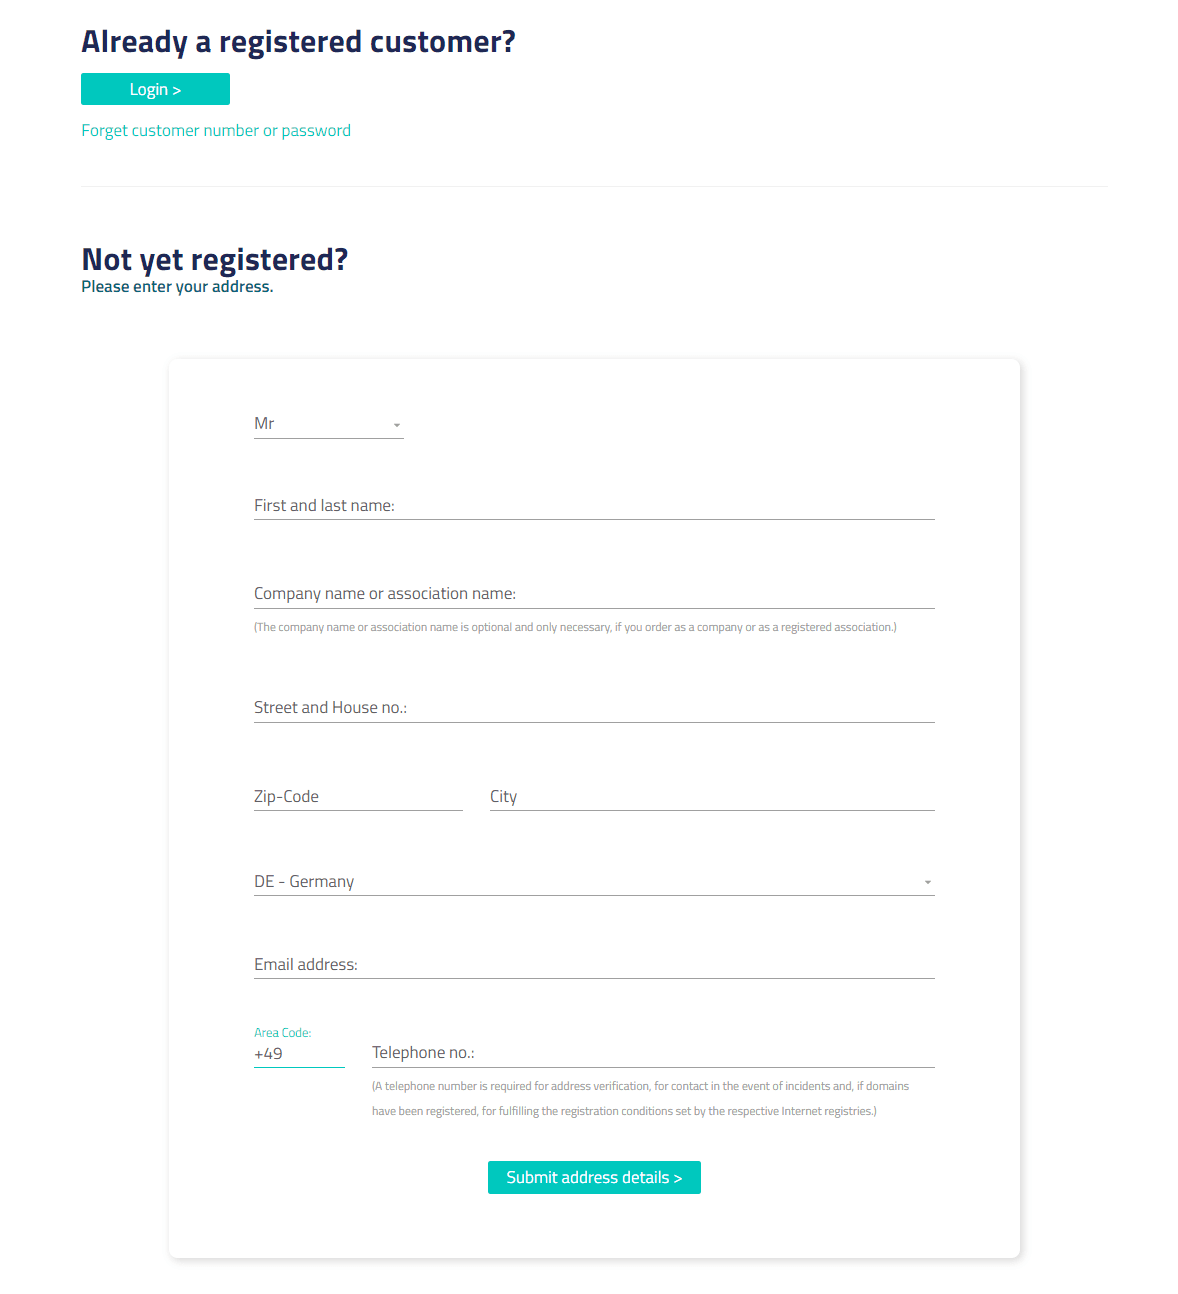
4. Customer Account
Make sure that the information provided is up to date and correct, and that the contact person specified is available for verification purposes.
To continue the order process, you will need a netcup account.
On this page, you will be asked to provide information about yourself.
I Already Have a Customer Account
If you are already a netcup customer, click Login. You will now be redirected to the login page of the Customer Control Panel. After successfully logging in, you will be redirected back to the order page.
I Am a New Customer
As a new customer, you will be asked to provide us with your name, address details, and a telephone number for verification purposes. We will handle this information securely and responsibly.
Once you have entered all your personal details, click Submit address details.
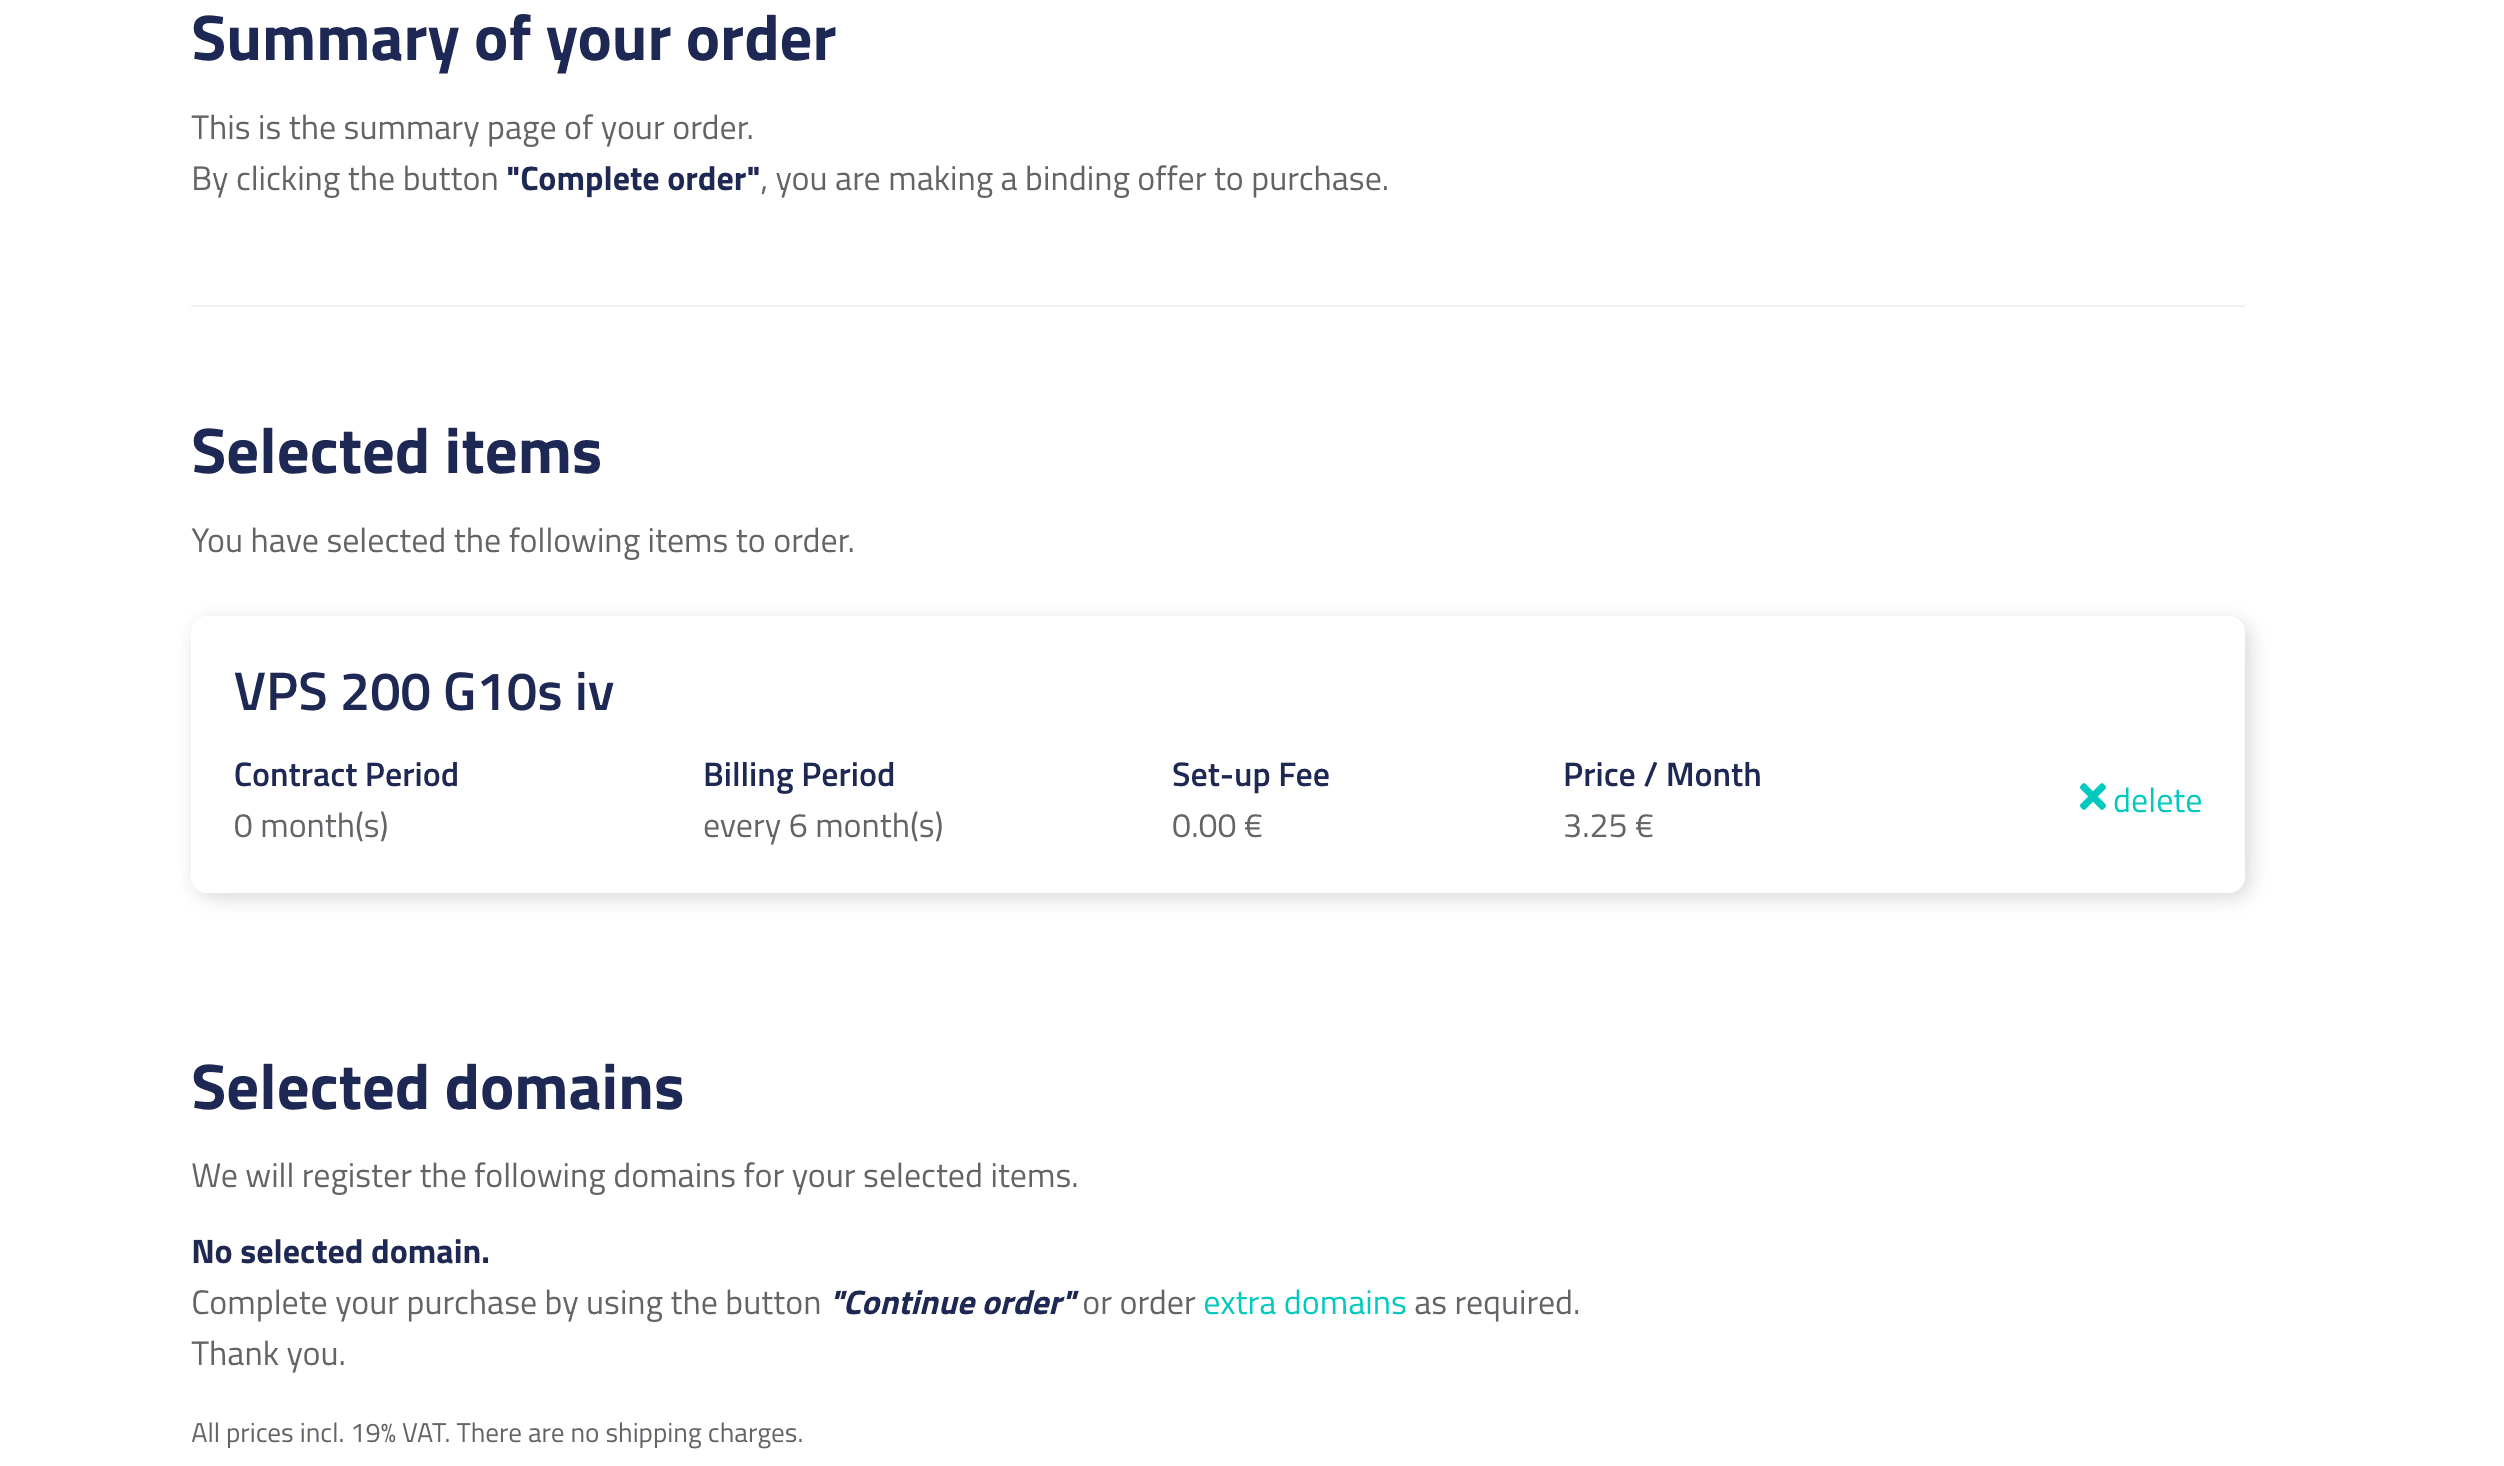
5. Order Summary
After logging in or creating an account, you will be redirected to the order summary page. There, you will see an overview of the products you ordered, your address and contact information, and the prices. You will also be asked to read and accept our Terms and Conditions, Privacy Policy, and Cancellation Policy. After reading them, accept them by checking the box at the bottom of the page.
Complete the order process by clicking Continue order at the bottom of the page. You will receive a confirmation email at the address you provided.
6. Success
You have successfully ordered a netcup server and will receive additional information at the mail address you have provided in the previous step.