
Setting Up Smarthosts
Learn how to set up a smart host for your email accounts.
1. What Is a Smarthost?
A smarthost is an external SMTP mail server. Instead of delivering emails directly to the recipient, it first forwards them to the smarthost. The hosting provider then forwards the email, after authenticating it (usually via SMTP-AUTH over port 587 or 465), to the configured smarthost, which handles the subsequent delivery to the recipient’s mail server.
Typical Use Cases
- Sending emails via an external email provider’s SMTP server
- Using a specialized transactional email service (e.g., Mailjet, SendGrid, Amazon SES)
- Centralizing email sending from multiple servers through a single outgoing relay
2. Configuring Smarthost
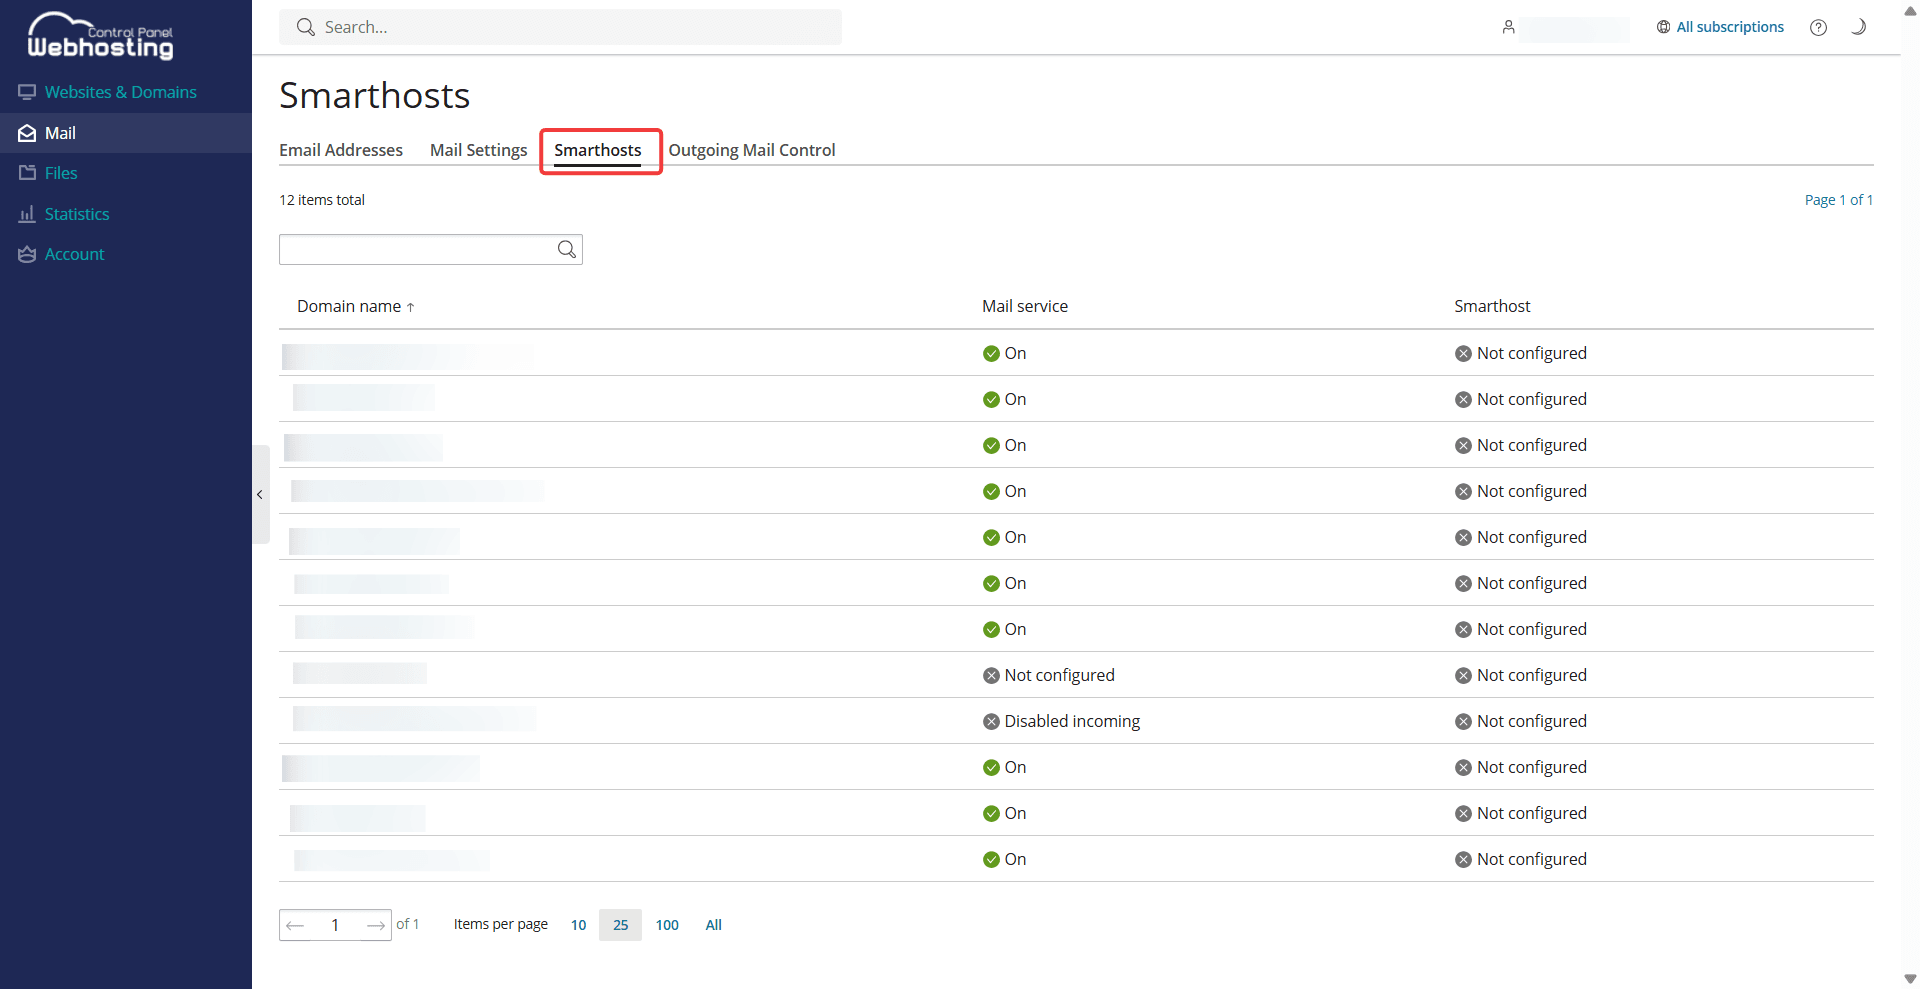
- Log in to the Webhosting Control Panel (WCP).
- Go to Mail > Smarthosts.
3. Select the desired domain.
4. Check the box next to Send mail via a smarthost.
5. Enter your smarthost’s hostname or IP address and port.
6. If your smarthost service requires authentication, check the corresponding box and enter your
username and password.
7. Click Save.
3. Final Steps
- Update the SPF record and DKIM records in the DNS zone of the domain you have configured. This ensures that the SMTP relay service is authorized to send emails on behalf of this domain.
- Most commercial SMTP relay services also require domain authentication on their end:
- Go to your smarthost service and authorize the domain for which you have just configured the smarthost.
- Send a test email to an external email service and make sure that sending works.
- Your smarthost is now fully set up.
Please note that when using a smart host, netcup cannot guarantee the deliverability of emails or provide support for any errors that may occur, as delivery is handled by an external provider.
You may also be interested in:
Last update: 22 May 2026
Was this article helpful?